I *love* bias binding.
A few of my first quilts have been loved so much that their straight WOF (width of fabric) bindings have worn away - right at the fold.
Bias binding has lots of advantages - eases nicely around curves and corners, and has the added strength of multiple threads on that outer fold. With WOF binding, you have only one or two threads at that outer fold, but with bias you have many threads to support that fold. Give it a little test (I'll wait while yor find a piece of fabric, anything will do!) - take a piece of fabric, fold it along the width (or length) - you have one or two threads right at the fold, right? Now fold it on the bias - see how many more threads you have woven there?
I've done lots and lots of bias bindings using the 'tube' method, which works very well. It's a bit fiddly and I don't cut with scissors (apparently I have no scissor cutting skills), rather I use my rotary cutter and put a long, thin rotary cutting mat in the centre of the tube and carefully (so I don't go off that mat) cut using my rotary cutter. But sometimes I just can't get the seams to match up right and sometimes I can't get it started right and end up with a jumbled mess. Examples of this method can easily be found by Googling 'Continuous Bias Binding' or check these out ... McCalls Quilting Bias Binding Tutorial or Craftsy Bias Binding.
And I now have a new favourite method! This method folds the fabric into the bias and then you cut bias strips. You do have to connect the strips, but that's quick and easy. Here is a link to a good tutorial I found ... Silver Thimble Quilt Bias Binding Tutorial.
For my first test, I needed about 240" of binding. I cut an 18" strip of fabric (WOF) so it started out 18" x 42". I didn't cut off the selvedges until the strips were cut (so I wouldn't get mixed up on where the real edges were).
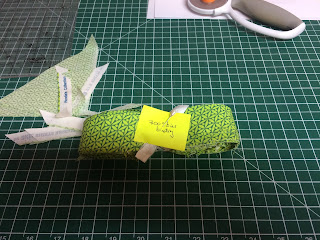
Ended up with 300" of beautiful bias binding, with almost no waste!
Here were my steps ...
 |
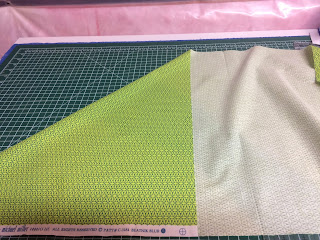
| 18" cut full width of fabric, pull the top left corner down |
 |
| Fold the lower edge up |
 |
| Fold up again |
 |
| Folded up and up then carefully moved to begin cutting |
 |
| Use one ruler across the fabric to get a good true edge, abut another ruler to cut a thin slice off the folded edge |
 |
| Folded edge slice - now I have a nice clean edge to cut slices from |
 |
| I cut my slices at 2 1/2" |
 |
| All the slices |
 |
| Trim off the selvedges |
 |
| Join the slices |
 |
| Press the new long continuous binding in half - a couple of small triangles are all that is left over! This 18" cut yielded 300" of 2 1/2" continuous bias binding! |

